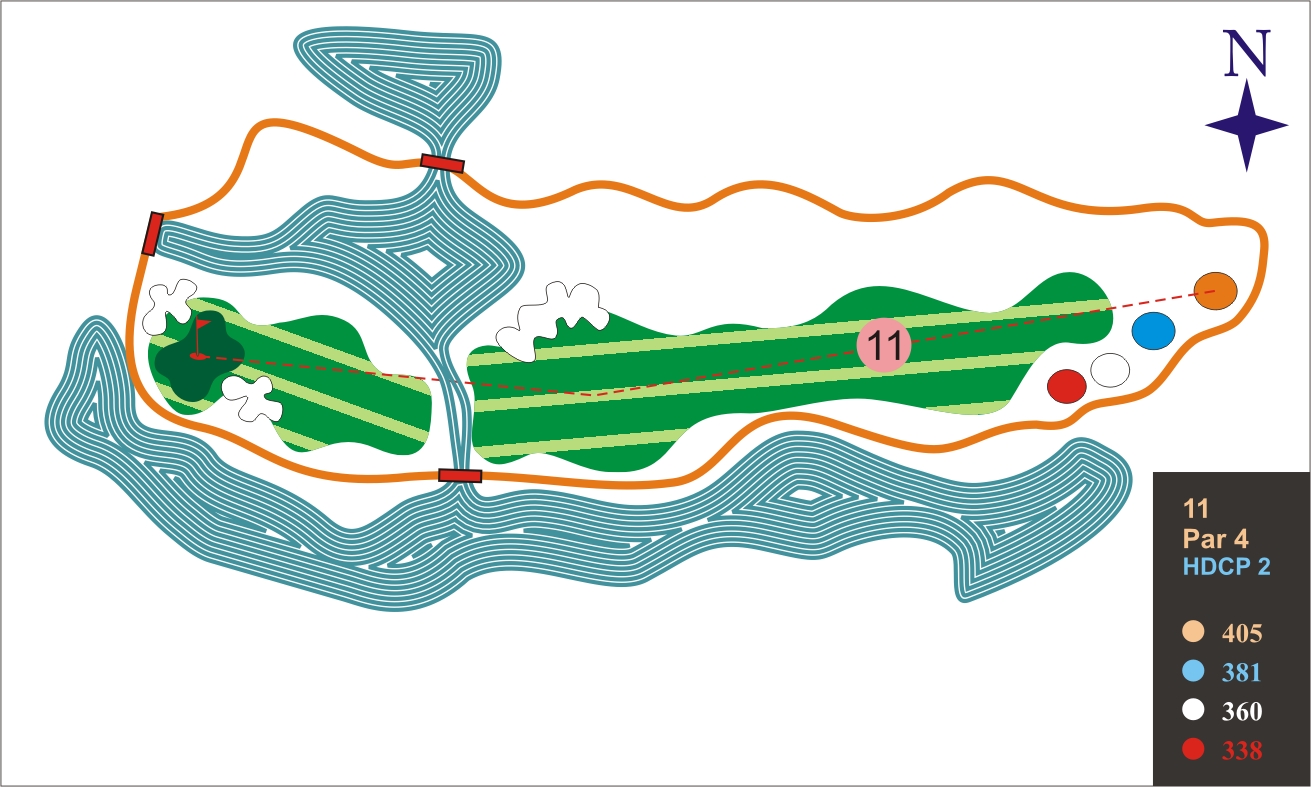
A following breeze aids all golfers on this tee shot. Good thing, because this is one of the hardest approach shots on the course. The green is guarded by 3 bunkers and water hazards left and right. Pick the right club or bogey + will be your score. The green slopes off in many directions so be sure to pick your line carefully.
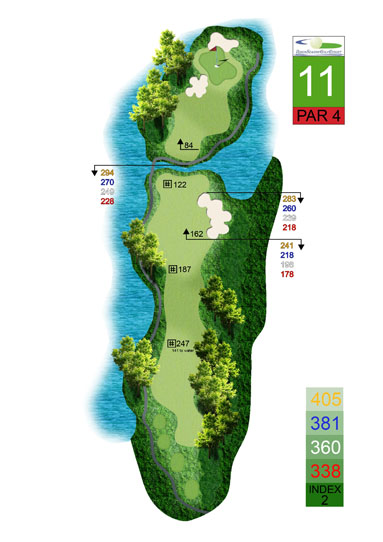

Tee and Fairway Hole #11

Bunkers and Water Hazards at Hole #11